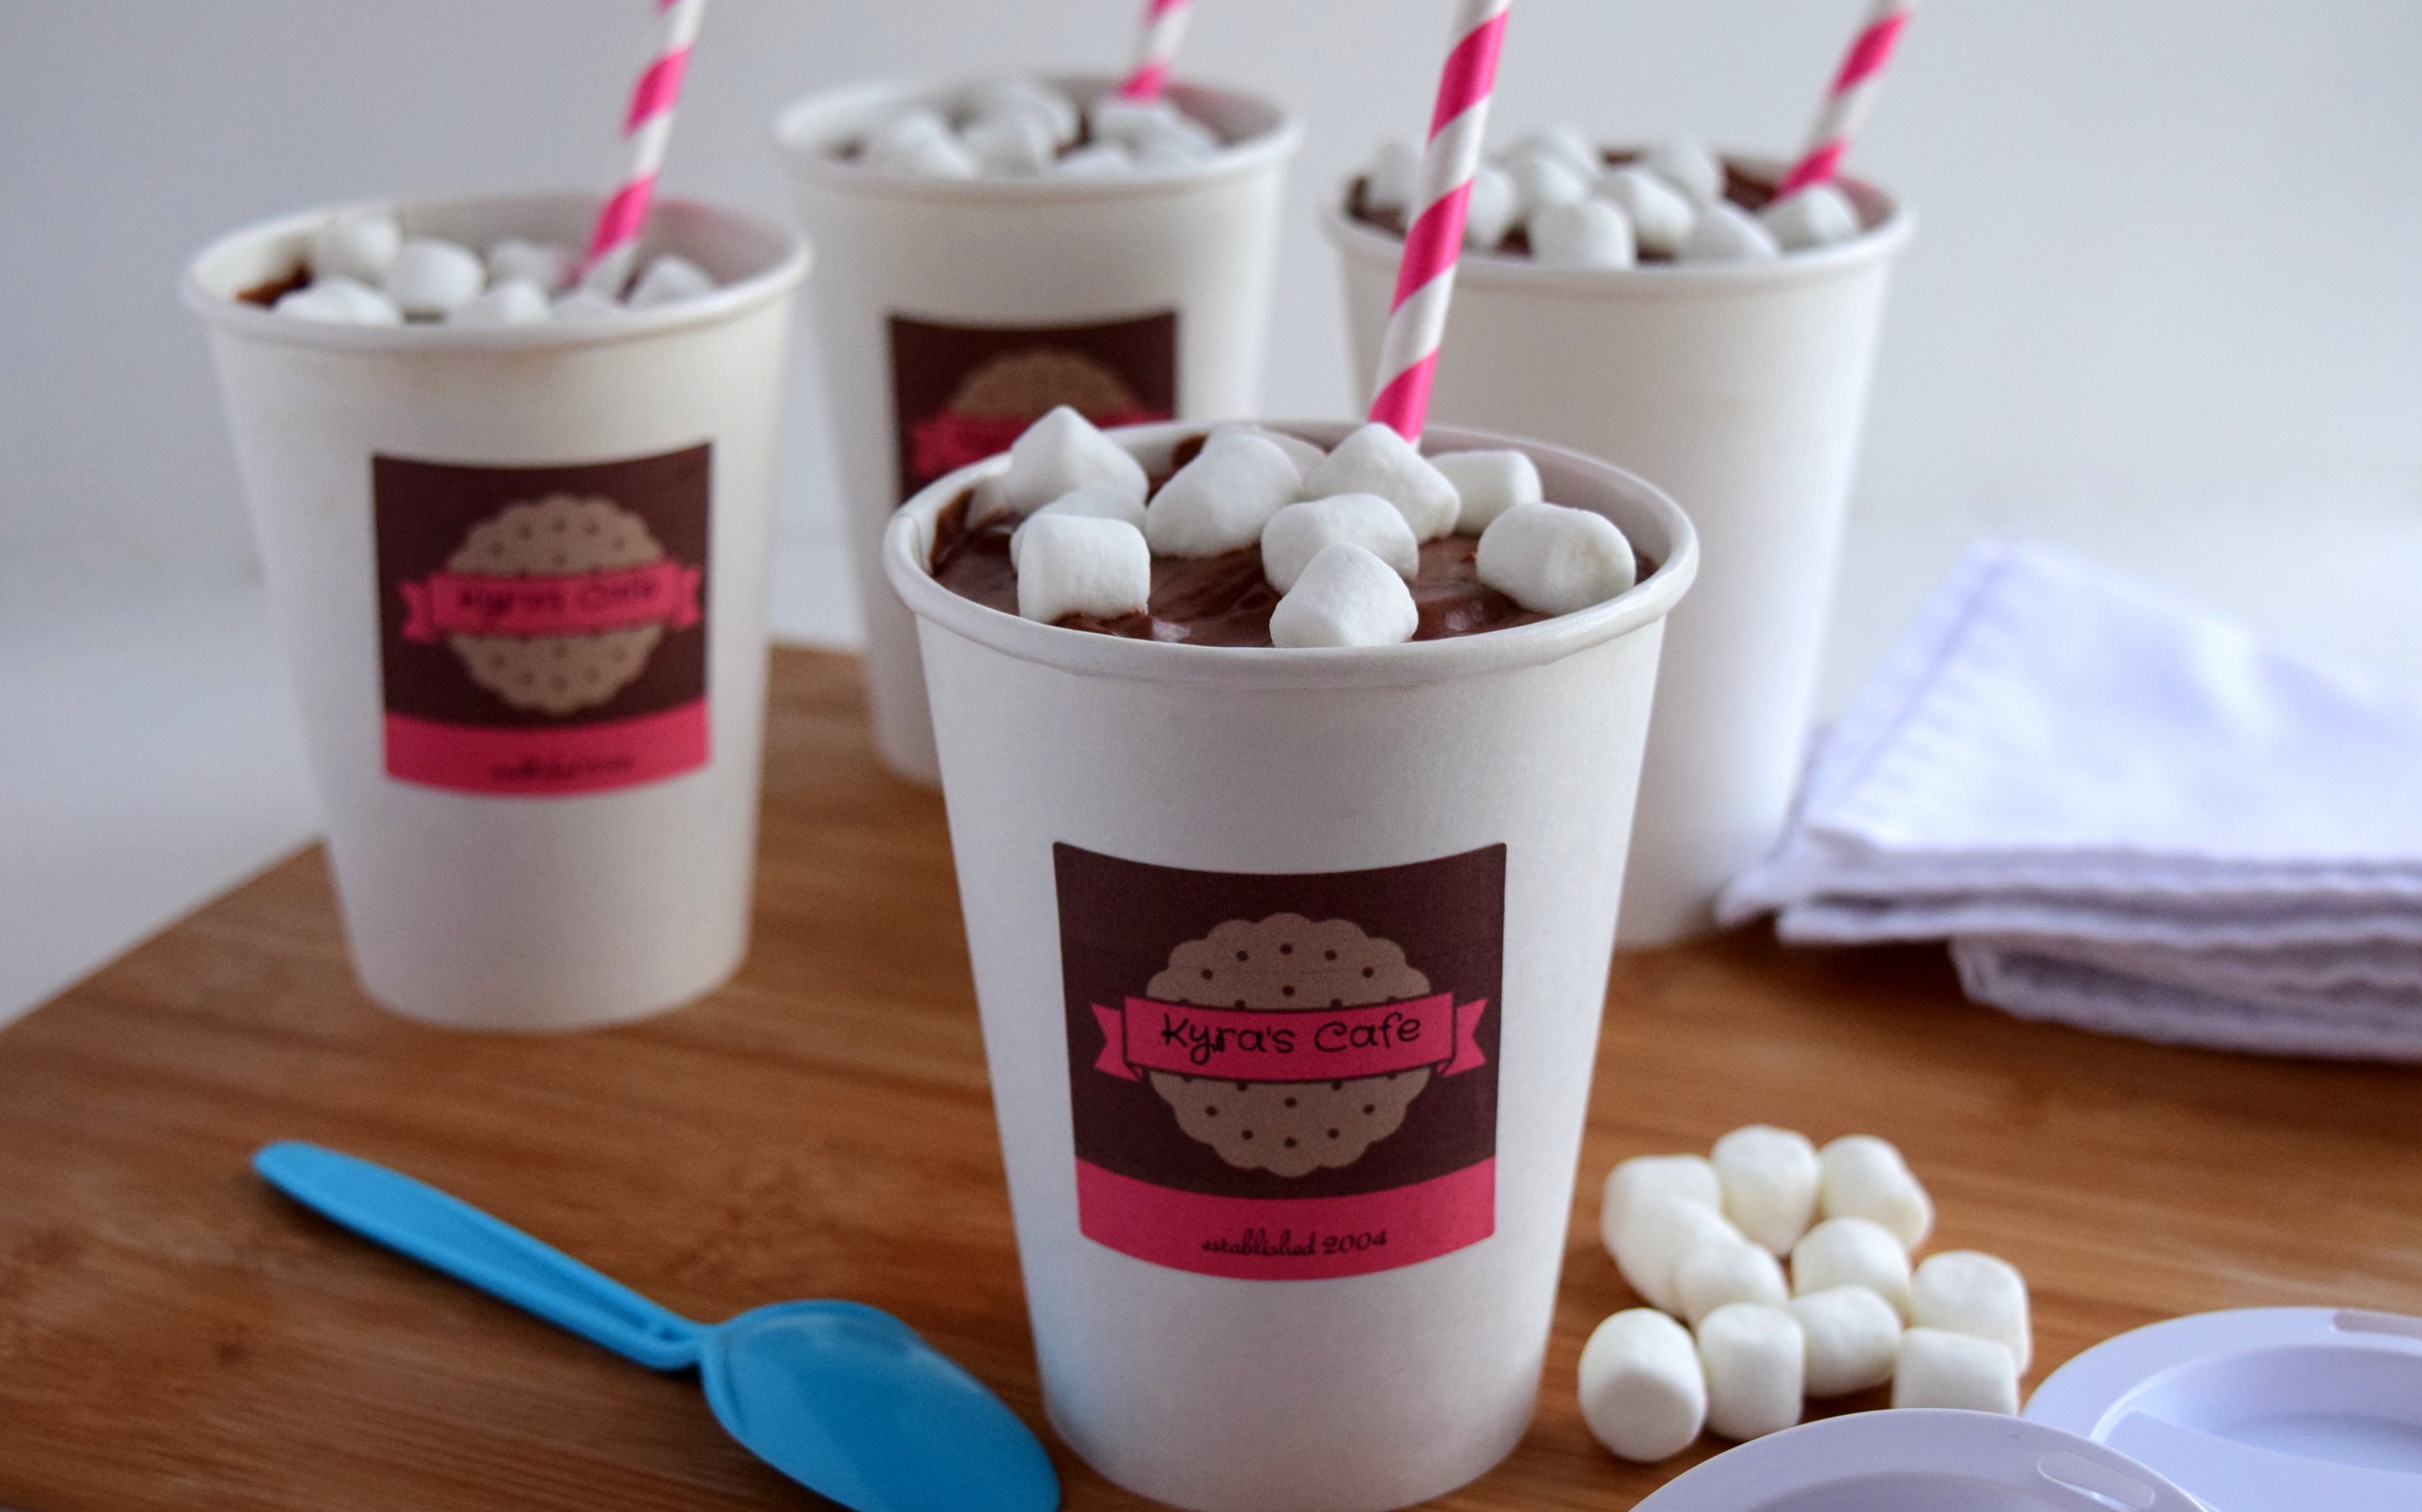
Birthdays are a big deal at our house. From the planning, to the decorating, to the actual party, we love it all. This year, my daughter decided to have a skating party, and since we would be transporting the the cake to the skating rink, I thought cupcakes might be the best bet. My daughter put on her thinking cap on and said “It would be cool if we could make cupcakes that looked like cups of hot chocolate!”. And that’s how the idea for this fun cupcake was born! It was a big hit at the party and this Mom loved it because it was easy and inexpensive. Here is how we did it:

For these cupcakes, I decided to use a mix but of course if you like you can always use your favorite cake recipe.

I prepared the cake batter according to the directions on the box. Easy peasy!

I filled paper cups about 1/3 full with the cake batter and placed them on a cookie sheet and baked them in a 325 degree oven for 25 minutes. If you drip the batter on the sides of the cup be sure to clean it up before baking to keep your cups pretty looking!

The first thing everyone asks me is “Can you really cook in a paper cup?” The short answer is yes! The long answer I will include at the bottom of this post.

I made a super easy frosting, which is just one package of instant chocolate pudding, 1 cup milk, and 2 cups whipped cream. Make sure you use instant pudding – the regular kind of pudding that you have to cook won’t work. Mix the pudding and milk together for just 20 seconds then add the whipping cream and whip until it’s light and fluffy.

Add a big dollop of the frosting to the top of the cooled cupcake and smooth the surface with the back of a clean spoon.

We finished the cups off with a personalized sticker and a cute straw. The lids for the coffee cups make the cupcakes easily portable. It’s a fun and simple way to put a cute twist on the run-of-the-mill cupcake!

Hot Chocolate Cupcakes
Easy cupcakes made to look like cups of hot chocolate! Perfect for your next winter themed party
Yield: 8-10 cups
Ingredients:
For the cupcakes:
8-10 10oz hot drink paper cups
1 box cake mix prepared according to directions or your favorite cake recipe
For the frosting:
1 cup milk
2 cups whipping cream
1 3.9 oz INSTANT chocolate pudding
1 cup (approx) mini marshmallows
Optional:
coffee cup lids
stickers or sleeves to personalize the paper cup
Directions:
Preheat oven to 325.
Prepare cake batter according to the directions on the box, or prepare your favorite cake recipe. Fill paper cups about 1/3 full, careful not to get any batter on the rim or sides of the cup. If you do get get some on the rim wipe off with a damp paper towel.
Bake in 325 degree oven for 25 minutes or until a wooden skewer inserted in the center comes out clean. Cool.
Add the INSTANT pudding mix to the 1 cup milk and mix for 20 seconds. Add two cups of whipping cream and beat until light and fluffy and light peaks form. Be sure to use instant pudding and not the kind of pudding that is supposed to be cooked or your frosting won't turn out.
Add a large dollop of frosting to the top of the cupcakes and smooth the surface with the back of a clean spoon. Top with mini marshmallows. Chill until ready to serve!
EasyOnTheCook.com
My thoughts on baking in a paper cup: I should make note that I am not an expert nor do I play one on the net, this is just my thought process. You’ll have to make your own decision. First of all, paper burns around 450 degrees Fahrenheit. The cups in this recipe bake at 325 degrees, so the cups never get near the point of burning. The cups I used didn’t even brown or discolor. Next, the internal temperature of a cooked cake is about 220; water boils at about 212 degrees, so my thought is the cups are safe for hot drinks and the cake temperature doesn’t get much hotter than boiling water. Lastly, most paper cups seem to be coated with either polyethylene (a type of plastic), wax, or PLA (a coating made from corn). It doesn’t often say on the package what the product is lined with, but you can email manufacturers, and they seem to respond rather quickly. Polyethylene is, of course, the most controversial, as it is a petroleum-based product, but it’s used in all kinds of food products, with the most obvious being our morning take-out lattes. And again, in my non-expert common sense thinking, the cake doesn’t get much hotter than the temp of boiling water. I checked the cup after I baked with it, and I couldn’t see any obvious signs of the lining breaking down or affecting the taste of the cake. All that being said, if you are uncomfortable with baking in the paper cup, just bake the cake on a sheet pan, cut into cubes and put into the cups, then frost!


Patty, What a cute idea. So easy that the kids can help make it too. Love it and I love your site.
Thanks! And I agree, it’s perfect for the kids to help out with!